I know it’s been quite a while since I posted. From a front garden, a bathroom reno (ongoing), client work, and now a kitchen renovation, I’ve been busy! For now, I want to share the Big Sur House kitchen with before and afters, sources, and how it came to be.
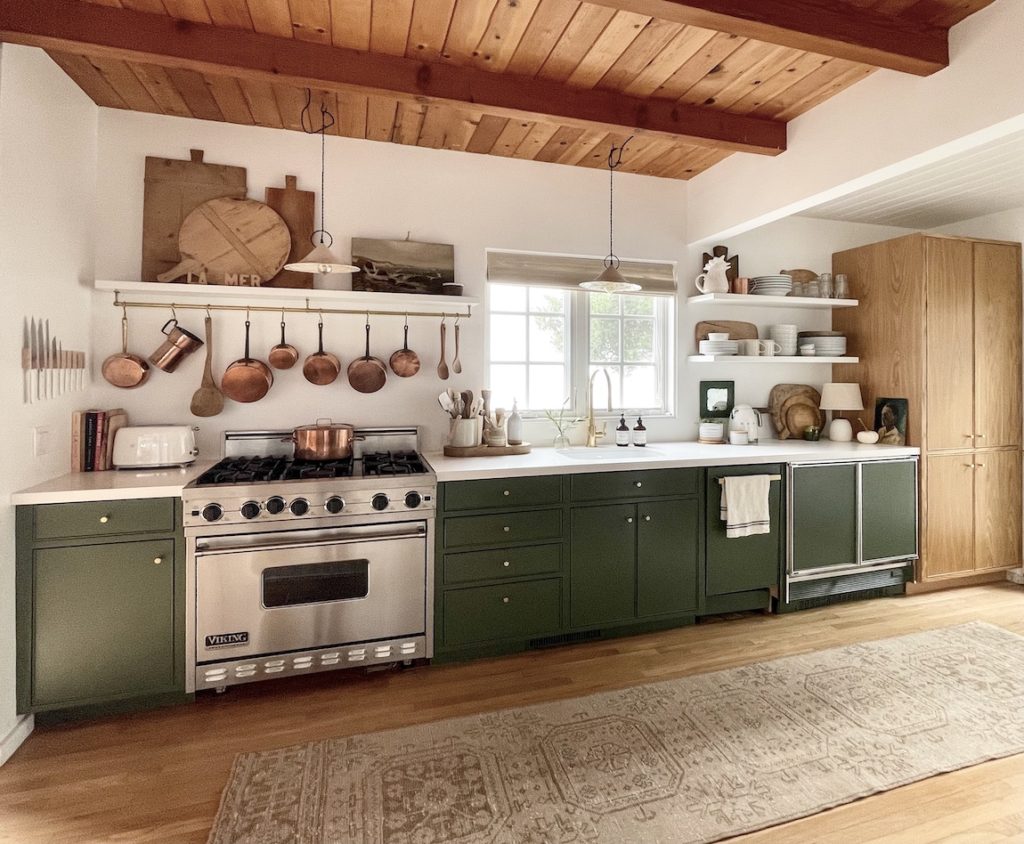
We bought the house in March of 2018. There was quite a bit to do, as any of you have followed along with me know. This summer we decided to tackle the kitchen. I’ve had three years to think about and plan this small kitchen. At first I thought I could make the original wood cabinets work, but they were discolored and had a white plastic frame underneath. I also wanted something simpler with cleaner lines. I made the decision to start from scratch.
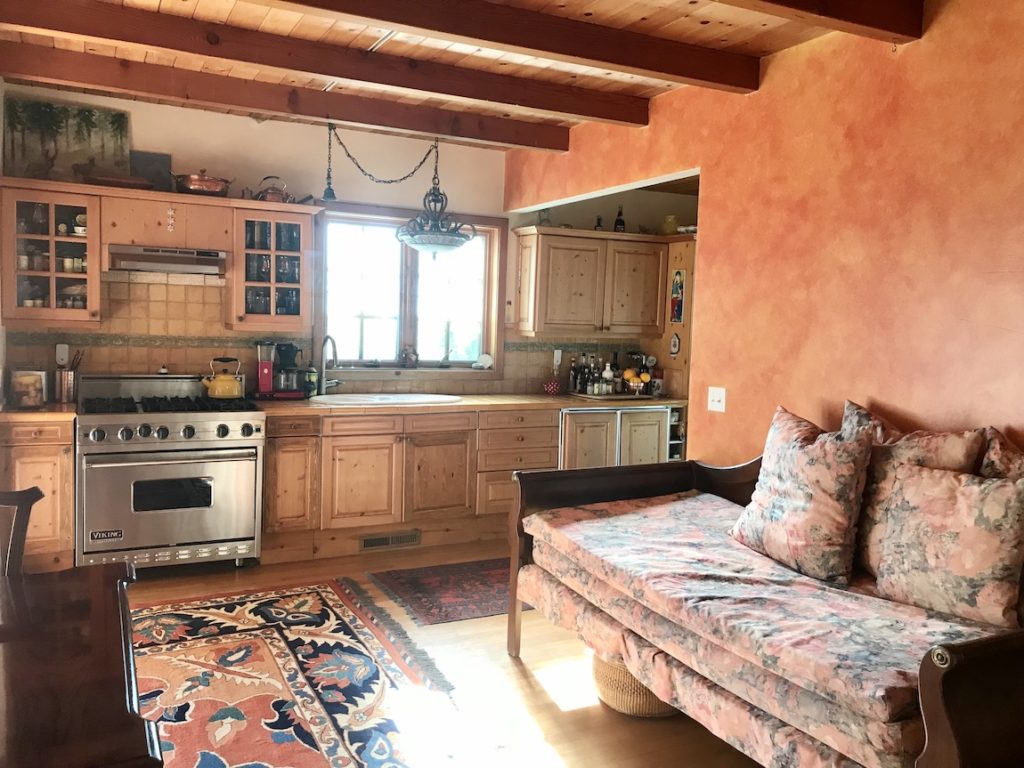
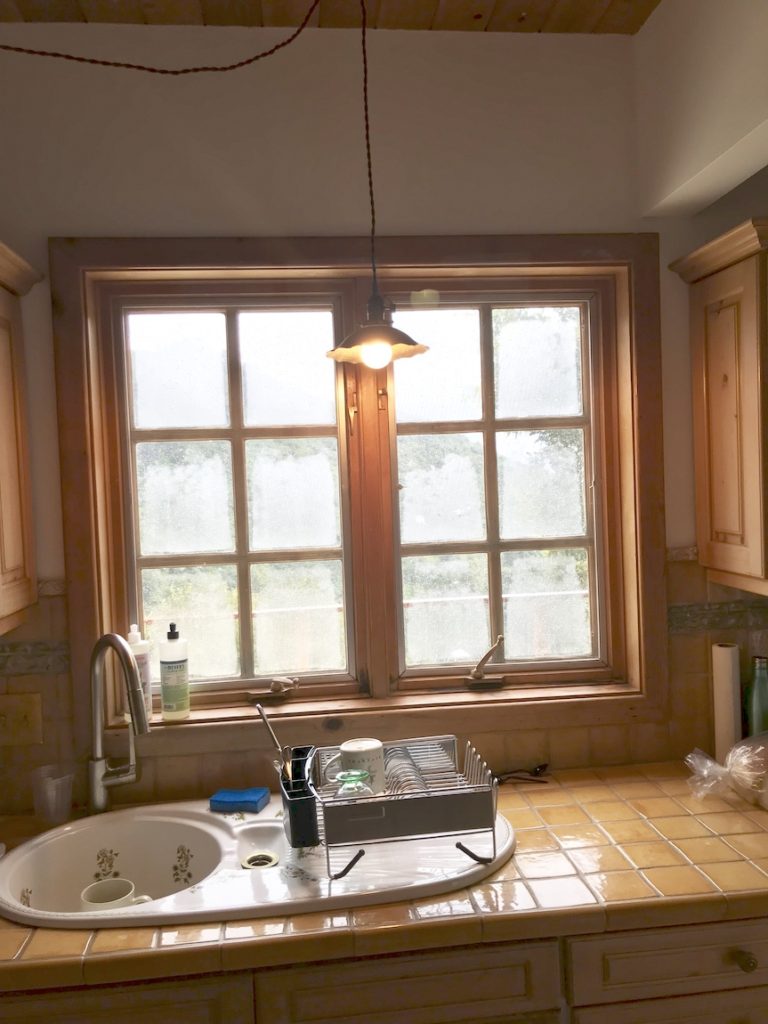
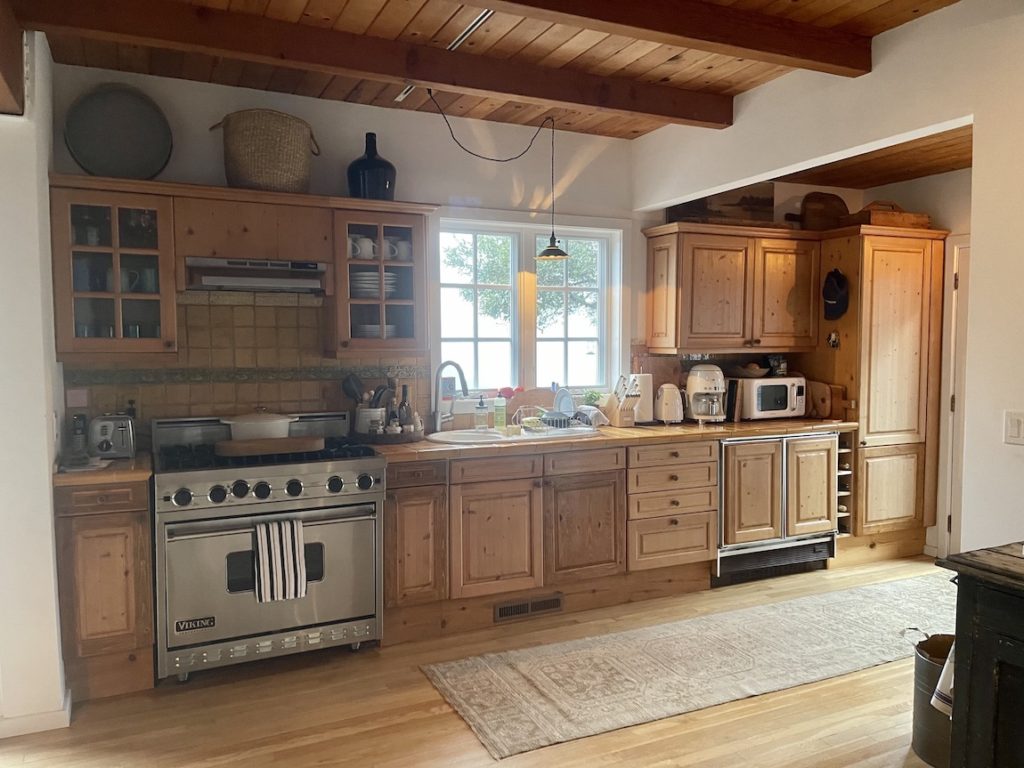
So what did I want this small kitchen to consist of? One of the priorities was a sink large enough to wash a pot! The previous one was smaller than most bathroom sinks. It also wasn’t centered under the kitchen window which caused my Virgo Type A personality agita. The other must have was a dishwasher. I decided to keep the old subzero under-the-counter refrigerator/freezer as it added much needed space for items AND even an ice maker. That left some interesting configuring to fit a small 18″ dishwasher. But where there’s a will there is a way!
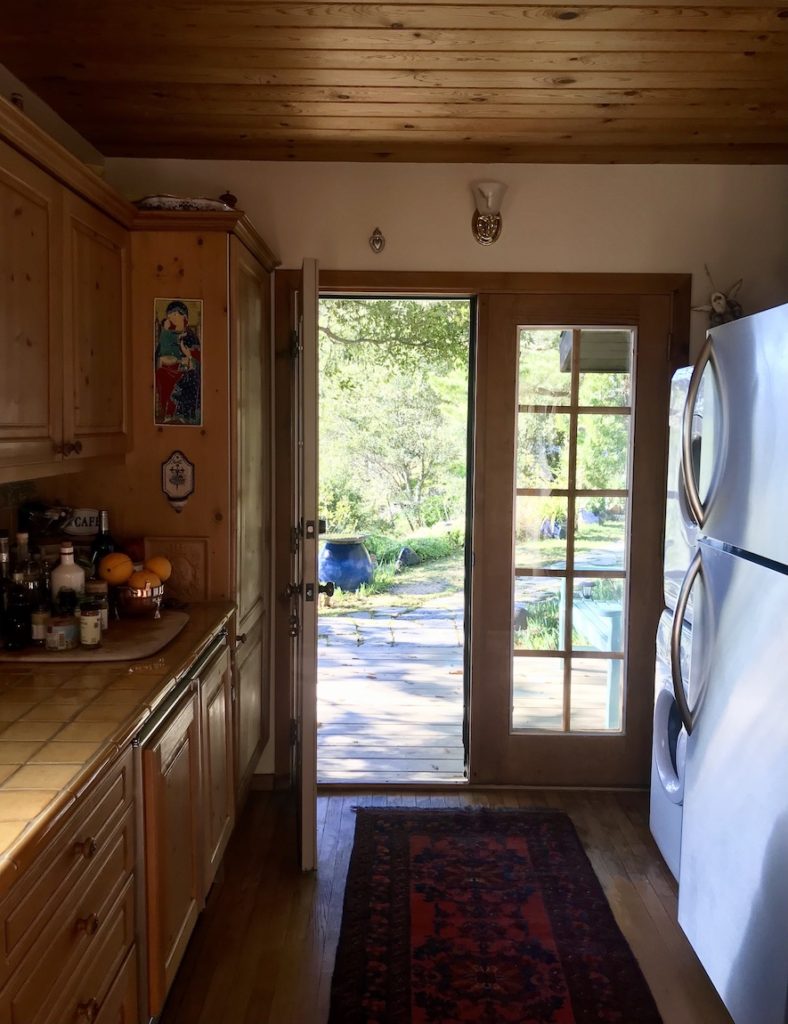
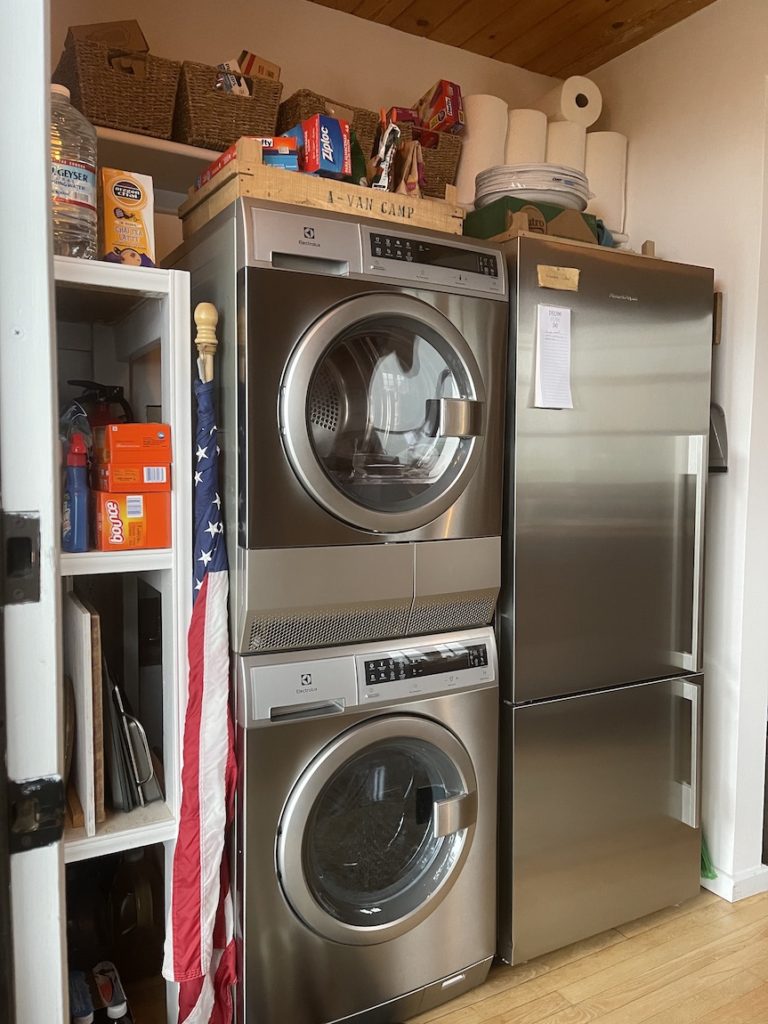
The kitchen is mainly a galley with most cabinets and appliances lined up on one wall. On the opposite side was some storage, a refrigerator, and the washer/dryer (very European!) We replaced the original washer/dryer and the refrigerator for something that fit better within the space.
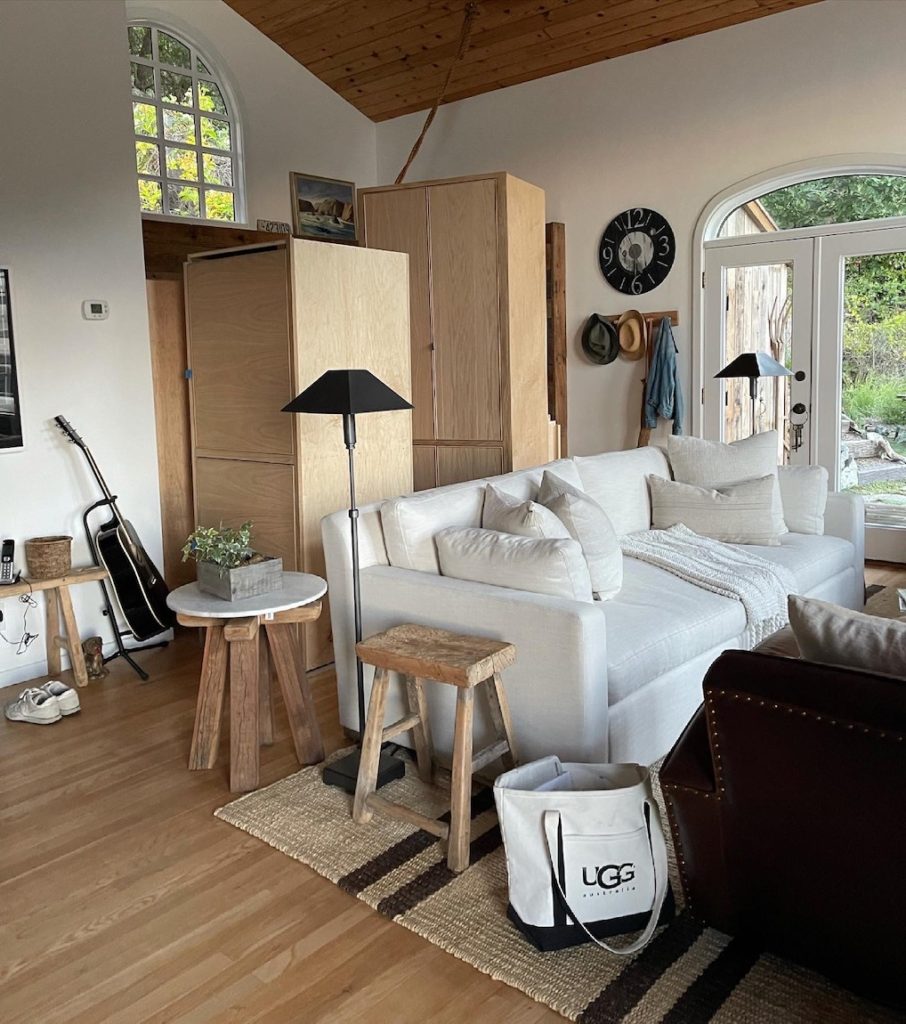
My trusty contractor, Brendan Wahl of BWahl Construction, and I got to work planning out the small space. On his recommendation, I hired Jali Morgenrath, a Big Sur local, to build the cabinets. I wanted something simple but different from shaker cabinets. I went with a plain cabinet and drawer front with a simple bead around the perimeter. Jali was so quick (3 weeks!) that the cabinets were ready before we were. They ended up sitting in the living room while demo continued.
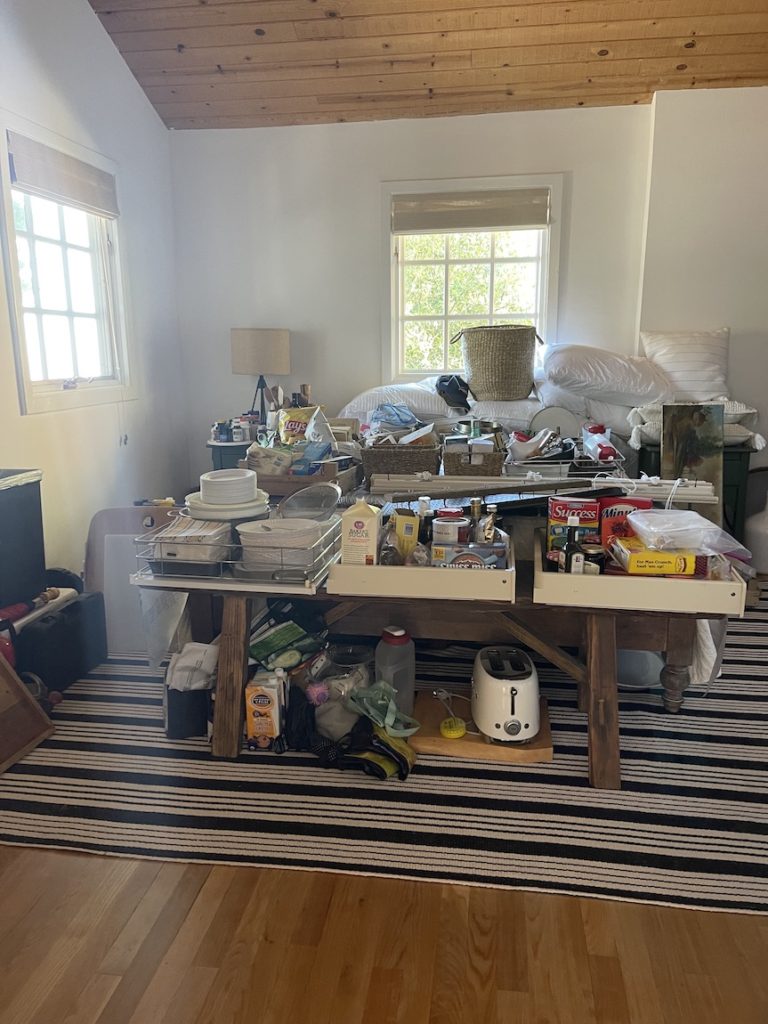
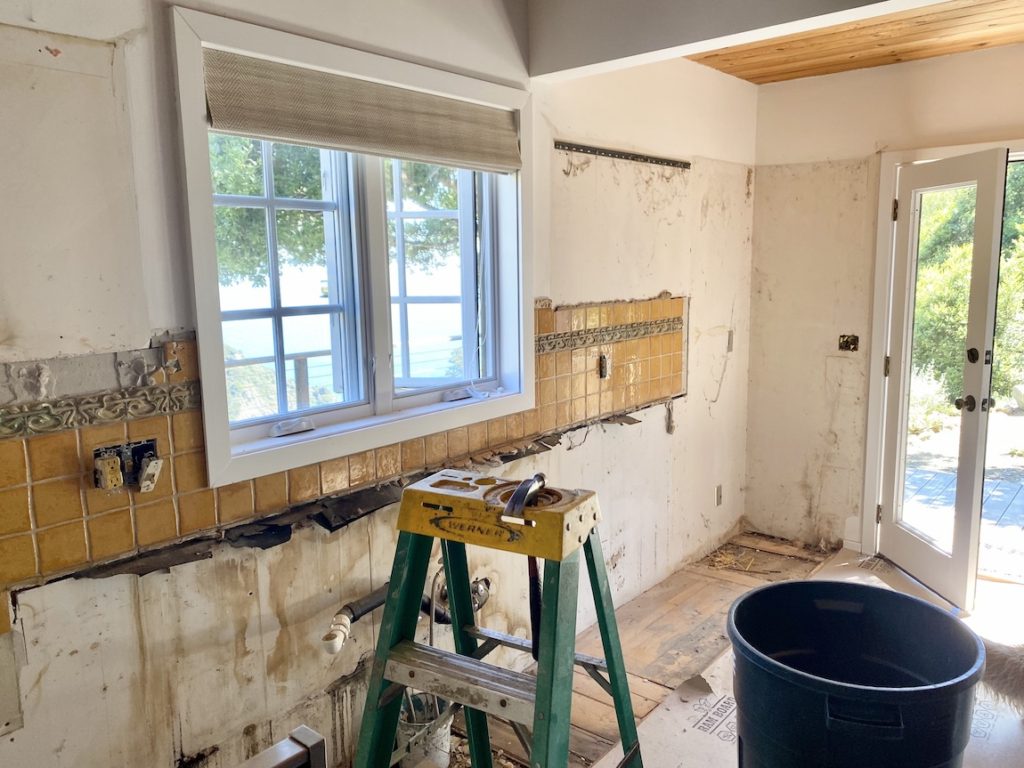
The demolition happened in June and luckily we didn’t run into any issues (rare but it does happen sometimes!) I returned from a family vacation to a clean slate.
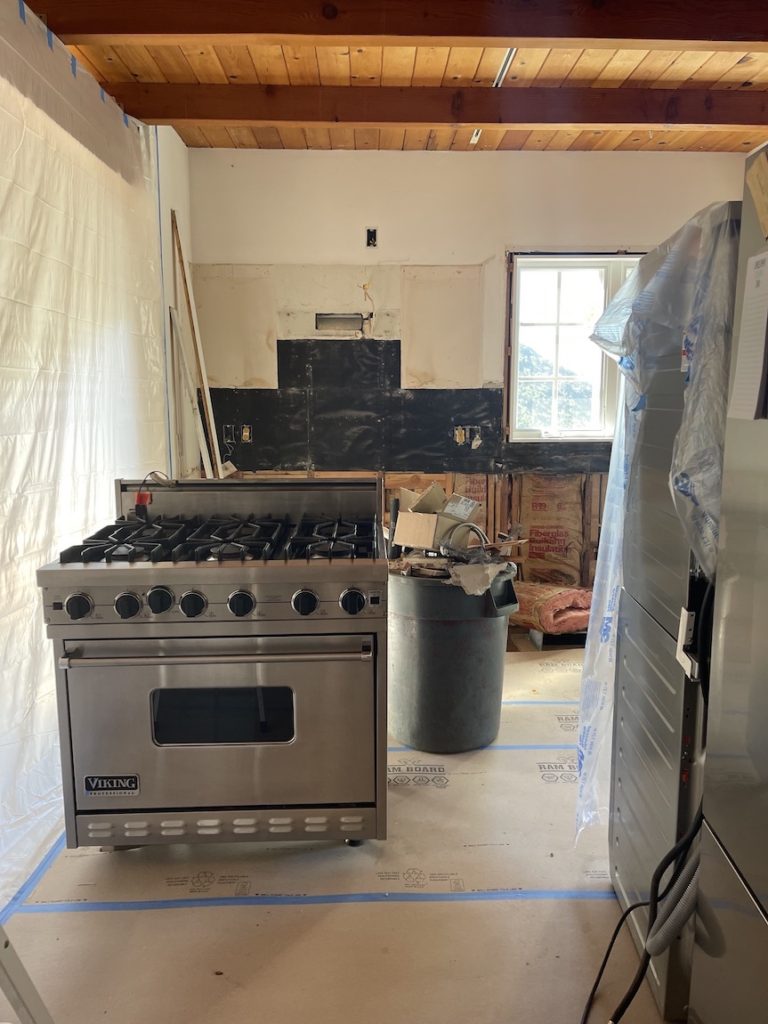
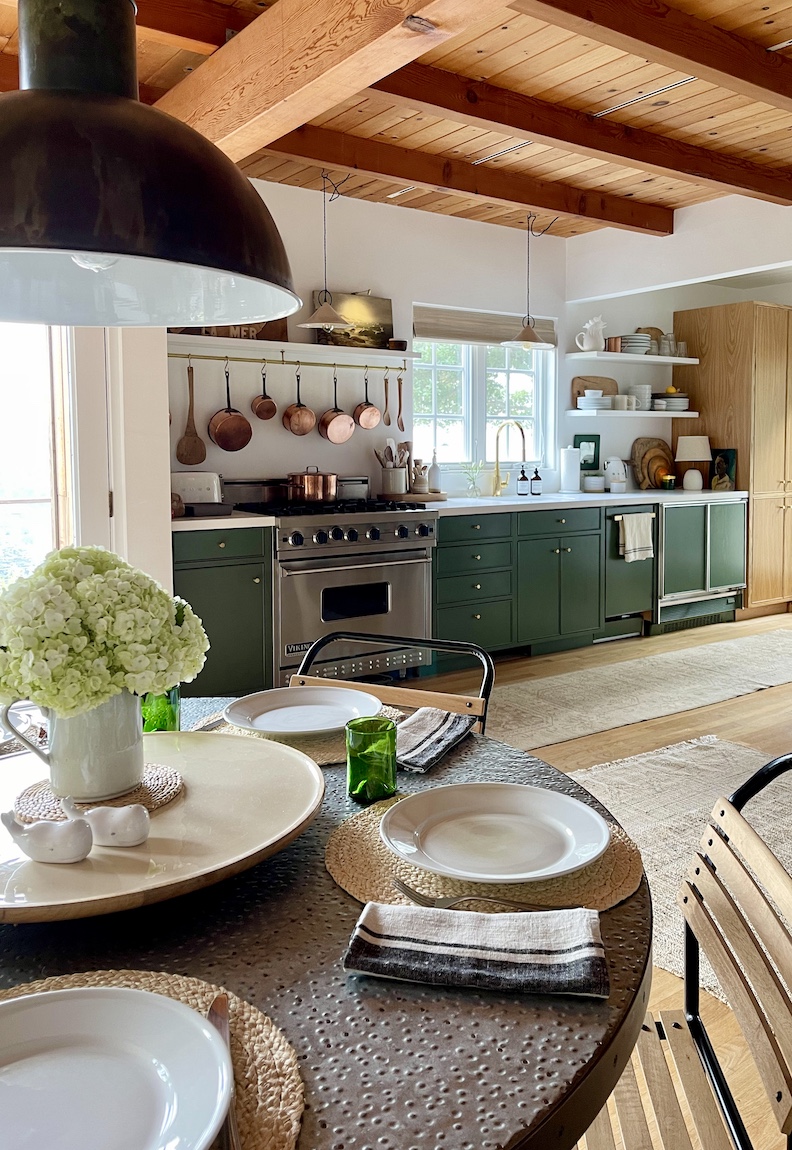
At last it was time to start putting this baby together! I went without a range hood. In the three years I had lived here, I’d used the fan exactly twice. We just don’t do that kind of cooking around here and big meals are often on the grill. That freed up space for my copper pots and a floating shelf.
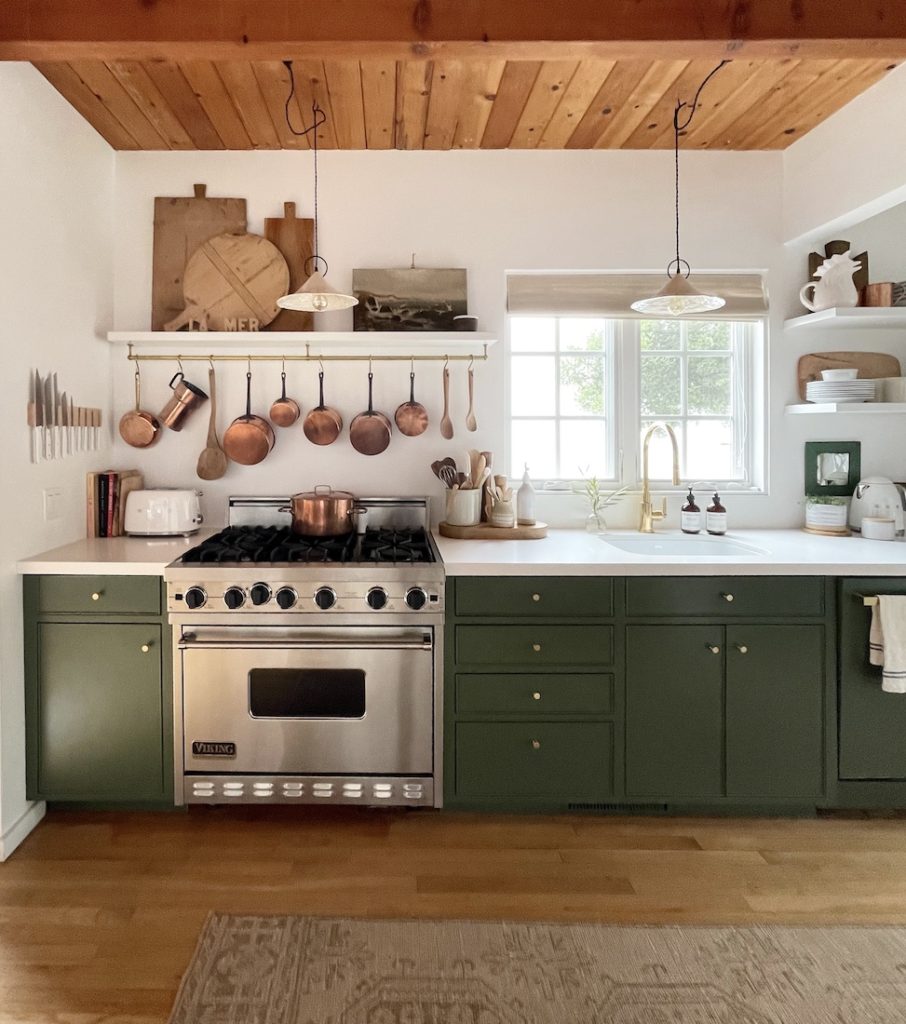
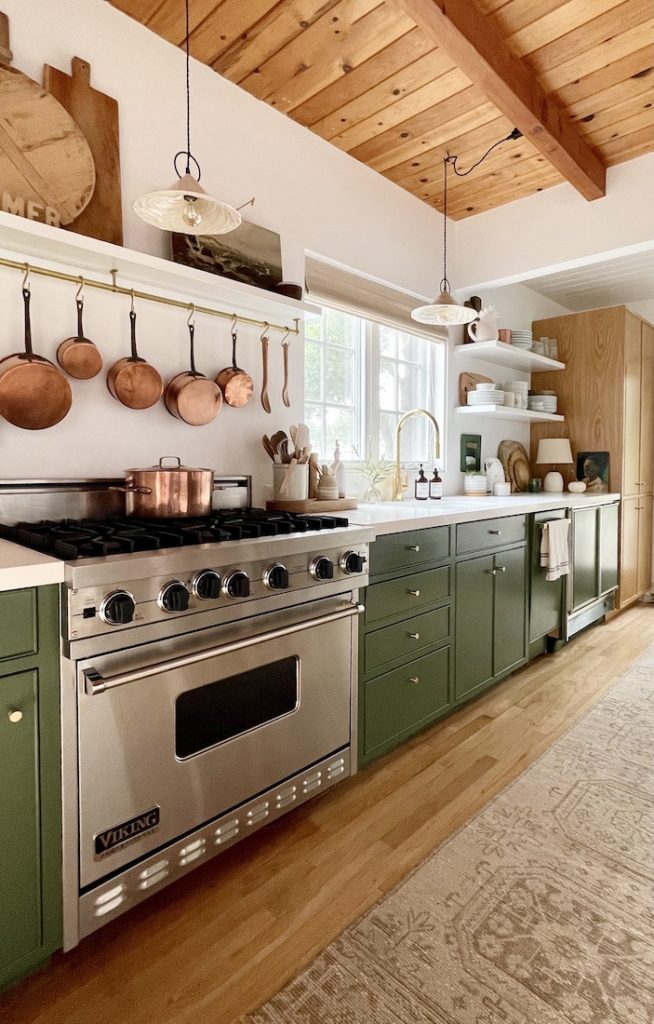
The most difficult decision to make was the finish on the cabinets. Originally I was going to go with all natural oak cabinetry. While I loved the look, it was just too much of a good thing with the wood ceilings and floors. I opted to paint the bottom cabinets a rich green, reminiscent of the redwoods seen out the window. I chose the color Benjamin Moore Backwoods but used Fine Paints of Europe in a satin finish for the durability. I’ve been using Fine Paints of Europe on cabinetry for over 20 years and while it may cost more, it lasts forever! (My white cabinets in Santa Barbara were painted eleven years ago and still look like new). The large pantry I left in a natural oak finish to add some warmth. With pull out shelves and a place for the microwave, it has become a real space saver.
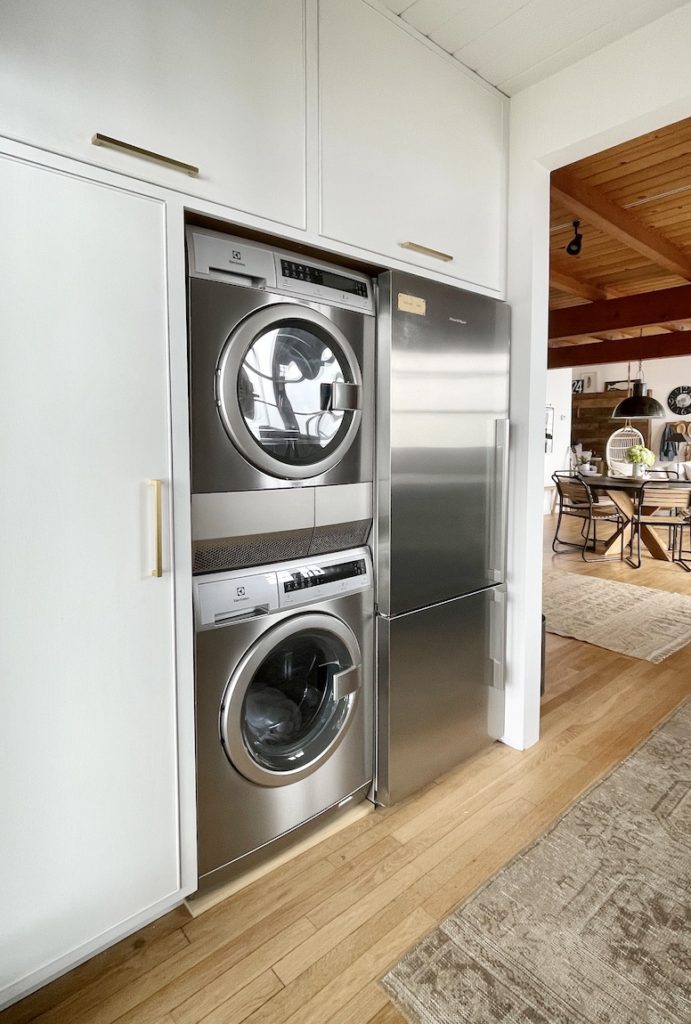
Across from that pantry I added a pull out pantry (to make use of every inch of space) and added large cabinets above the washer/dryer and refrigerator. They hold everything from laundry detergent, light bulbs, paper towels, and lesser used appliances, all hidden neatly away. To brighten up this small part of the kitchen, which is also the entry, I opted to paint the ceiling and cabinets white. Again, I used Fine Paints of Europe specially mixed to match Benjamin Moore Super White.
I chose to forgo a backsplash, wanting a simple clean slate. The walls are plaster painted in Benjamin Moore Super White Aura Bath and Spa paint. To make the small space feel larger, I chose simple floating white shelves that my contractor made. While I love styling shelves, the two shelves to the right of the sink had to be purely functional as well as pretty. Our everyday glasses, plates, and bowls are now easily accessible.
The 1 ½” floating shelves are 11″ deep to accommodate the large dinner dishes. The bottom shelf is 20 ½” above the counter to allow for the Smeg coffee maker when my parents and daughter visit. There is 13 ½” between the two shelves. It was important to get the proportions correct. I had my contractors hold them up until if felt right :).
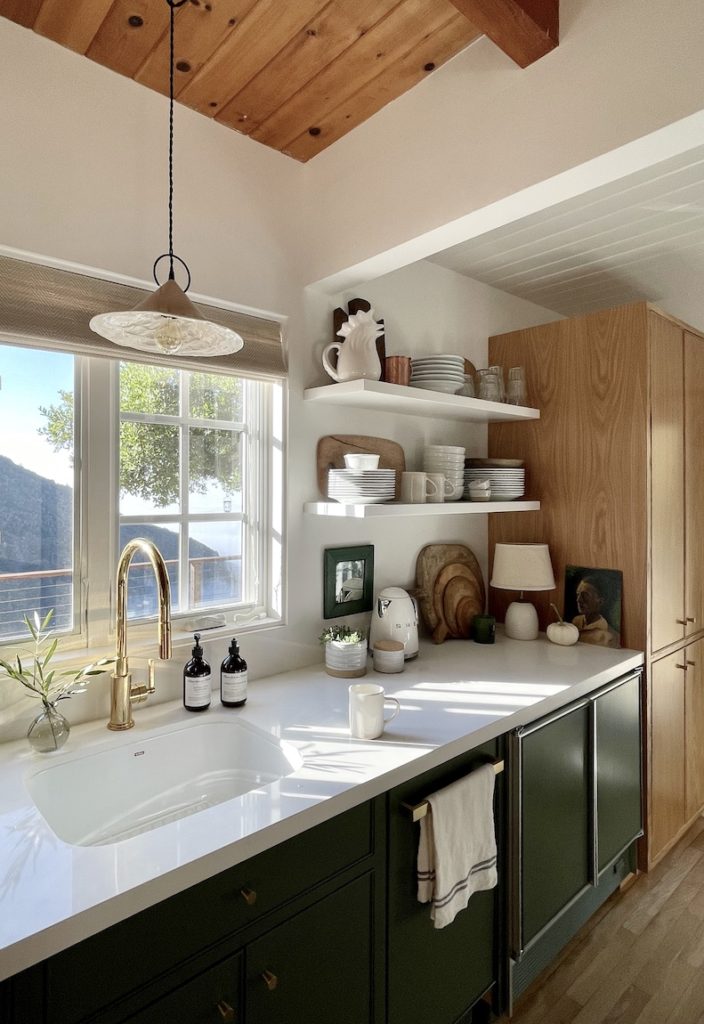
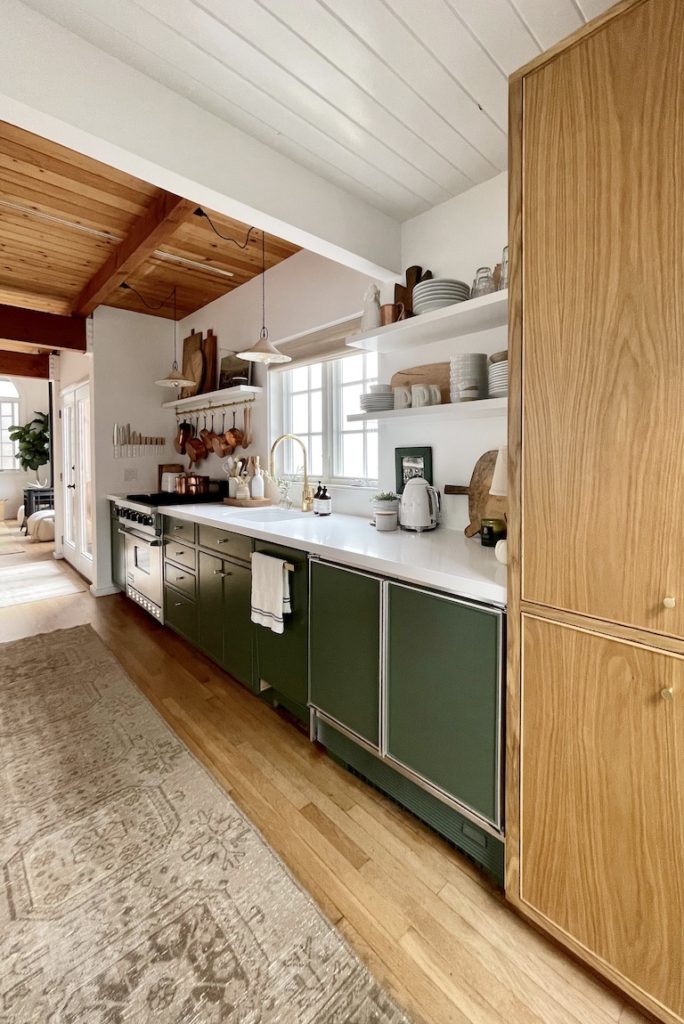
Once all of the major pieces were in place, the real fun began! I was finally able to style the kitchen and get all of the pantry items out of the guest bedroom. It’s all in the details to bring a new space to life. Here are the deets…
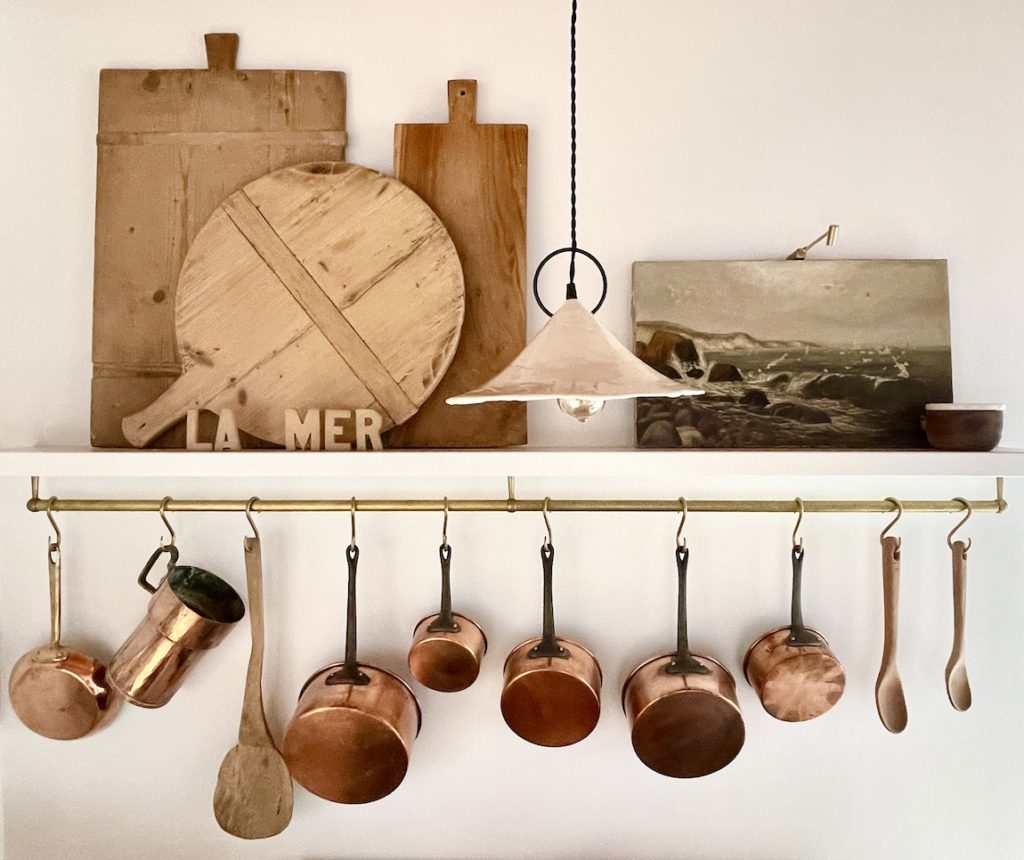
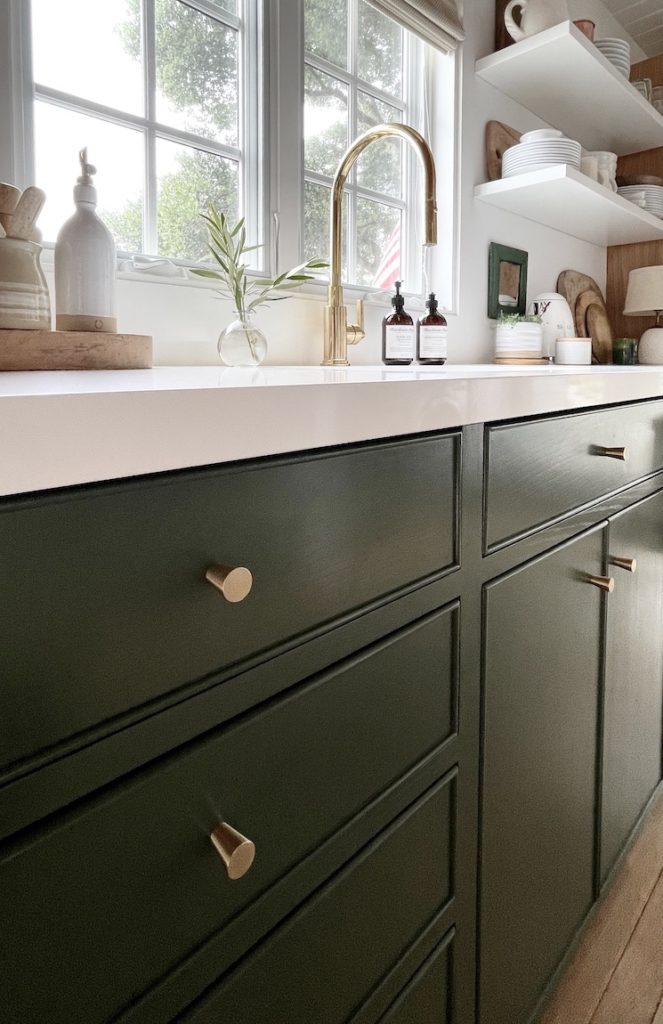
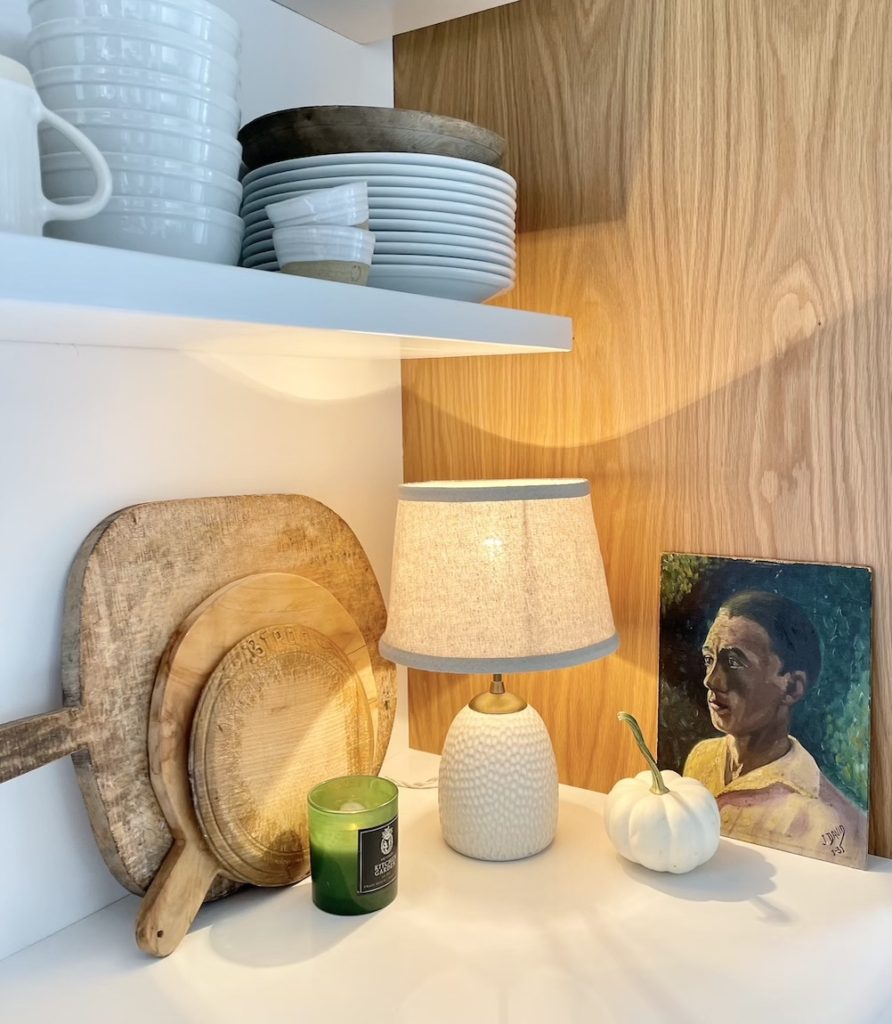
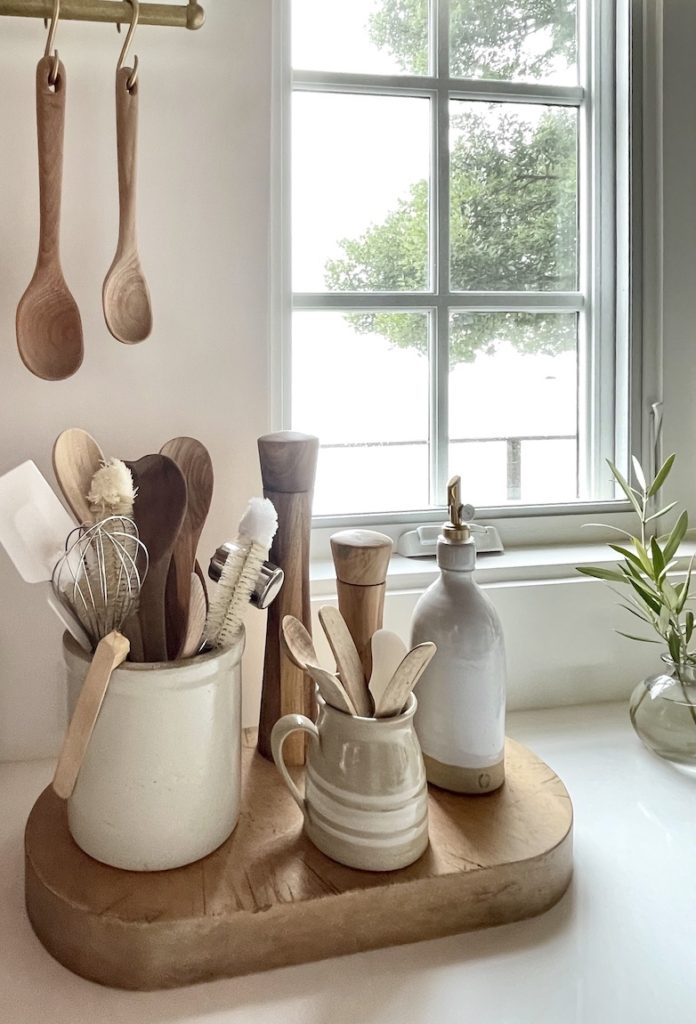
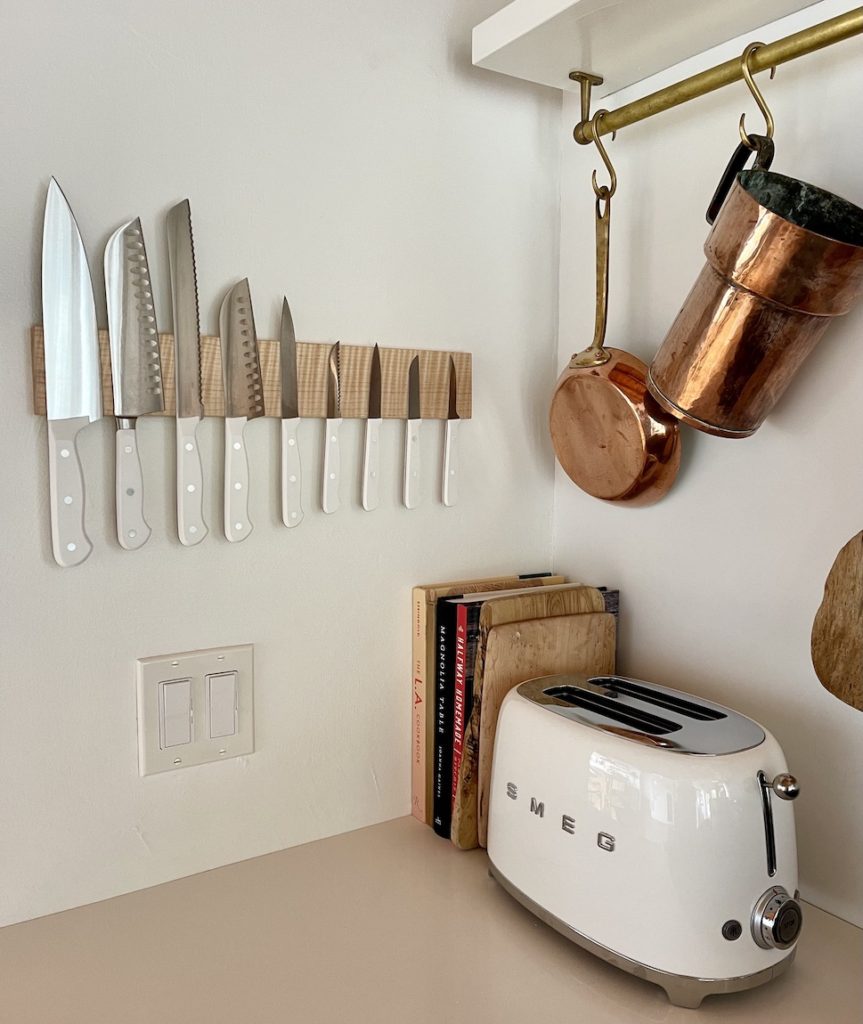
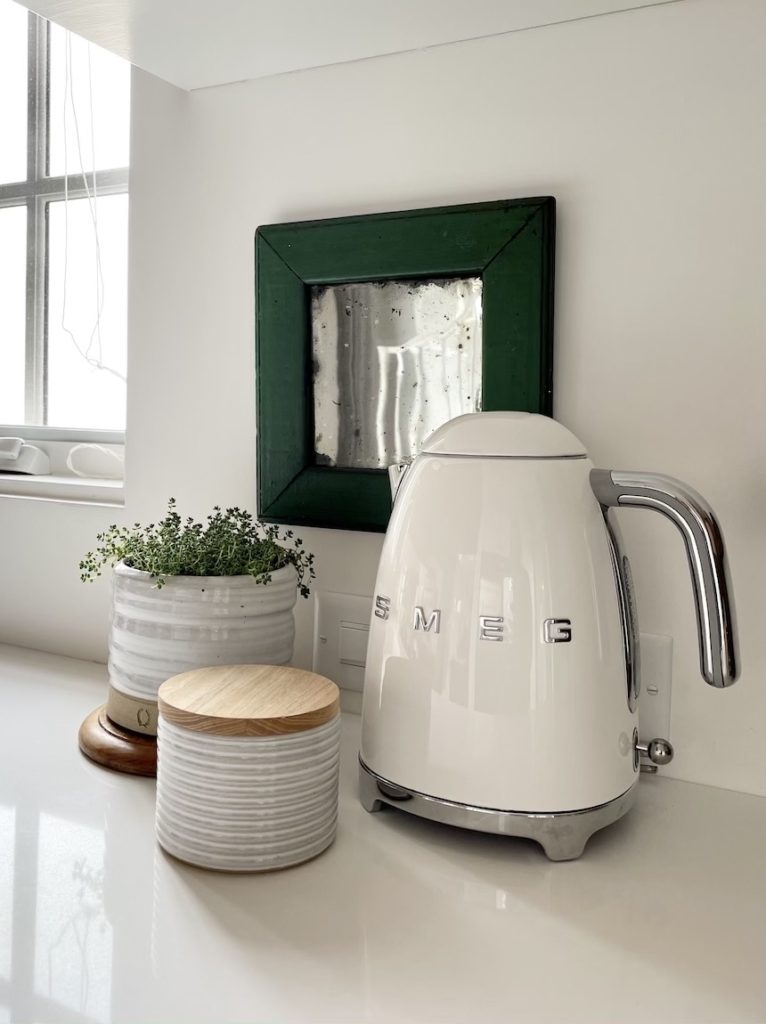
I wanted to design a kitchen that was timeless, organic, practical, and beautiful…a place to share with family and friends. It needed to “belong” here in The Big Sur House, where nothing is quite perfect but has character and soul. The kitchen may be new, but it already feels like home.
Thank you for coming along with me on The Big Sur House kitchen renovation. If you have any questions, please leave them in the comments below.


Beth- the kitchen looks amazing!! You are so very talented my friend 🤍💚
Thanks so much, Pam! A labor of love for sure!
xx B
PS Can you believe I am going to my 40th reunion at MHS? Yikes!
Absolutely stunning Elizabeth 🤩 You did an incredible job as always 🙏
Thank you, Gladys! It was so much fun (and a lot of work) to make all the decisions myself. I have some wonderful people here in Big Sur that helped me create my small dream kitchen. 🙂
xx Elizabeth
Absolutely gorgeous. Great job 👍👍🌈🌈
Thank you so much, Barbara! It’s amazing how many decisions go into even a small kitchen. Really happy with the way it turned out. 🙂
xx Elizabeth
So fun that you show the whole process. We had a kitchen renovation done in january and I can totally feel what you went through. We were cooking on a campinggas in the lvingroom. But as you very well pointed out; you have to go through the mess before it gets beautiful. All worth it,right? Your kitchen looks very homely to me, love it!
Your new kitchen is beautiful! What a joy it must be!
Thank you so much, Reba! I think I missed your comment somehow. And yes, it is a joy to spend time in. I can’t believe it is my kitchen 🙂
The color, the tone, the decor, just perfection💚
Thank you so much, Lisa! I couldn’t be happier with the way it turned out 🙂
xx Elizabeth
I love it. It’s so beautiful. And thank you for sharing all the design details, shelf measurements, and sources!
Thank you,Jaime! Things like shelf measurements seem like small details but it is so important to get them right or it can throw everything off. I’m glad you found it helpful.
xx Elizabeth
So fun to read about the remodel details. Wish you made it up to North Lake Tahoe! Would love a refresh with a few things in my house. Thanks for all the contact info for all your sources!
Hi Andrea,
I’m glad you enjoyed my post. I’ve only been to Tahoe once and loved it. I have friends that live in Truckee. Hope all is better now with the fires and smoke. I know first hand how awful it can be! Hope you have a safe and beautiful fall…
xx Elizabeth
Perfectly done – character & soul to spare! Love it all. Very intrigued by the Fine Paints of Europe tip for cabinetry. What do you think it is about that particular paint that makes it last so long? Thanks for sharing your beautiful home & work.
Hi Kelly,
I’m glad you enjoyed the post. I’m not sure what it is about the European paints but they truly do hold up better and cover so well! I’ve been a fan now for a long time! Thank you for taking the time to comment.
xx Elizabeth